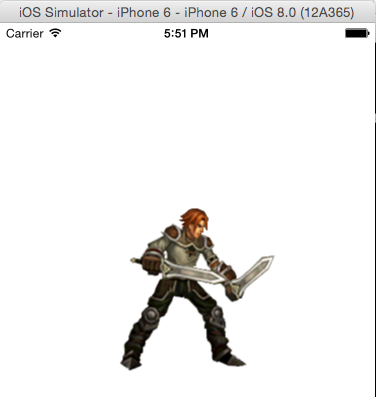
quartz2D可以用来绘制自己需要的图形,它们绘制出来的是一个静态的图形,那么如何绘制一个动态的图形呢?动态的图形就是动画,所谓动画,其实就是很多张图片在短时间内不停的切换所产生的一种视觉效果。quartz2D可以绘制图形,想一想,那么如果我们设置一个定时器,在很短的时间内不停的绘制多张图片,这不就是动画效果吗?好了,思路已有,接下来就是实践了。
代码之前的一些准备:首先需要一份连续的图片素材,接着自定义一个视图类,并将控制器中的视图与它关联在一起。
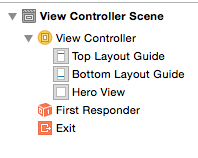
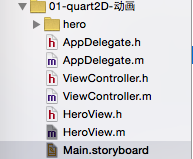
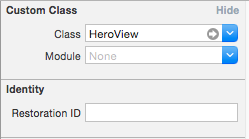
我准备的素材是一个游戏的英雄人物,它有站着、攻击(招式有三种)、奔跑的几种状态,导入的素材文件为hero


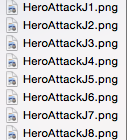

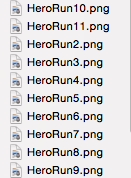
下面开始代码的实现了:
1、在ViewController.m文件中初始化自定义的视图,即设置视图大小,并添加一个英雄图片
- (void)viewDidLoad { [super viewDidLoad]; //添加英雄视图 HeroView *heroView = [[HeroView alloc]initWithFrame:self.view.bounds]; [self.view addSubview:heroView];}
2、现在余下所有的代码都是自定义类ViewDemo.m文件中进行的,即
//枚举所有的英雄状态
typedef enum{ Hero_Stand, Hero_Run, Hero_Attack, Hero_AttackJ, Hero_AttackT}HeroState; //声明属性
@interface HeroView()@property (strong,nonatomic)NSTimer *timer;@property (assign,nonatomic)NSInteger index;@property (assign,nonatomic)HeroState state;@property (assign,nonatomic)CGPoint point;@end
//初始化视图
-(instancetype)initWithFrame:(CGRect)frame{ self = [super initWithFrame:frame]; if (self) { //初始化一个开始索引 _index = 1; //初始化一个英雄状态 _state = Hero_Stand; //定时器 _timer = [NSTimer scheduledTimerWithTimeInterval:0.3f target:self selector:@selector(updateIndex) userInfo:nil repeats:YES]; self.backgroundColor = [UIColor whiteColor]; } return self;} //不使用时停止定时器
-(void)dealloc{ //停止定时器 if (_timer) { [_timer invalidate]; }} //定时器刷新方法
-(void)updateIndex{ //更新图片额索引 NSInteger maxIndex = 1; switch (_state) { case Hero_Stand: maxIndex = 3; break; case Hero_Run: maxIndex = 11; break; case Hero_Attack: maxIndex = 5; break; case Hero_AttackJ: maxIndex = 8; break; case Hero_AttackT: maxIndex = 3; break; } //如果没有到最后一张图片,就累加 if (_index < maxIndex) { _index++; } //换成首张图片 else { _index = 1; } //让视图重绘 [self setNeedsDisplay];} //重写drawRect方法,根据英雄状态和索引绘制相应的图片
- (void)drawRect:(CGRect)rect{ //画不同状态下的英雄 UIImage *image; switch (_state) { case Hero_Stand: image = [UIImage imageNamed:[NSString stringWithFormat:@"Hero%ld.png",_index]]; break; case Hero_Run: image = [UIImage imageNamed:[NSString stringWithFormat:@"HeroRun%ld.png",_index]]; break; case Hero_Attack: image = [UIImage imageNamed:[NSString stringWithFormat:@"HeroAttack%ld.png",_index]]; break; case Hero_AttackJ: image = [UIImage imageNamed:[NSString stringWithFormat:@"HeroAttackJ%ld.png",_index]]; break; case Hero_AttackT: image = [UIImage imageNamed:[NSString stringWithFormat:@"HeroAttackT%ld.png",_index]]; break; } //一张张绘制不同状态的所有图片 [image drawAtPoint:self.point];} //触摸开始时的事件,每次点击就会切换英雄的状态
-(void)touchesBegan:(NSSet *)touches withEvent:(UIEvent *)event{ //切换状态 if (_state < Hero_AttackT) { _state ++; } else { _state = Hero_Stand; } _index = 1;} //触摸移动事件,可以手动移动英雄的位置
-(void)touchesMoved:(NSSet *)touches withEvent:(UIEvent *)event{ //计算移动的位置 UITouch *touch = [touches anyObject]; CGPoint location = [touch locationInView:self]; CGPoint preLocation = [touch previousLocationInView:self]; CGFloat xOffset = location.x - preLocation.x; CGFloat yOffset = location.y - preLocation.y; _point = CGPointMake(_point.x+xOffset, _point.y+yOffset); //让视图重绘 [self setNeedsDisplay];} 好了所有的代码都已写完,下面就是演示了,由于无法插入视频,就给出截图了。
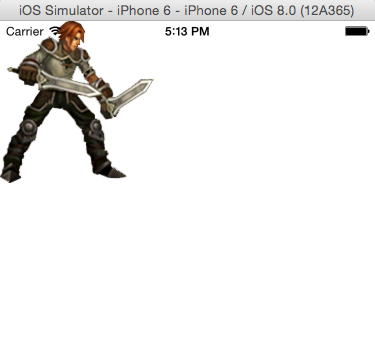
站着时绘制的英雄动画:
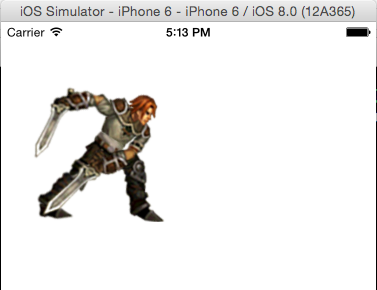
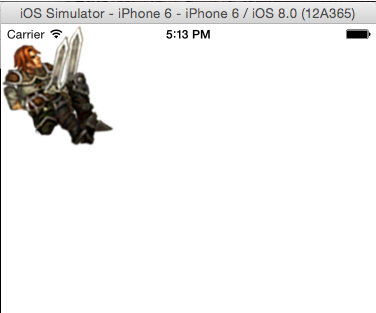
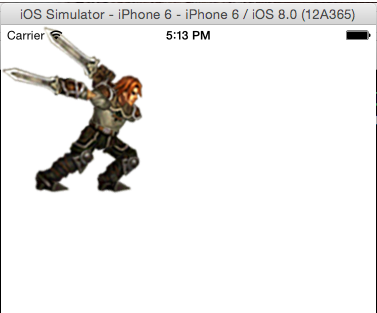
攻击时绘制的英雄动画:三种攻击方式
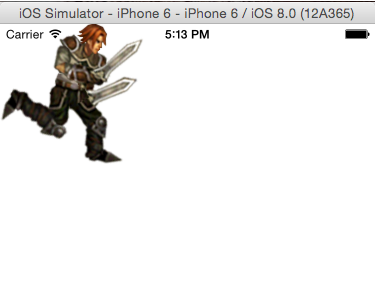
奔跑时绘制的英雄动画:
移动英雄的位置到中间:
